Account Setup
Step-by-step guide to creating your account, configuring your organization, and setting up your first workspace for team collaboration.
How Zenhub organizes your work
Before setting up your account, understanding Zenhub's structure helps you make better configuration decisions. Everything follows a clear hierarchy: Organization → Workspaces → Issue Sources → Issues.
Your Organization serves as the top-level container for billing, user access, and administrative settings. Within your organization, you create Workspaces that act as team-specific command centers. Each workspace connects to Issue Sources including Zenhub repositories (created automatically) and GitHub repositories (connected optionally). Issues represent the actual work items your team manages.
GitHub connections depend on your plan: Standard plans connect to one GitHub organization, while Enterprise plans support up to 10 GitHub organizations.
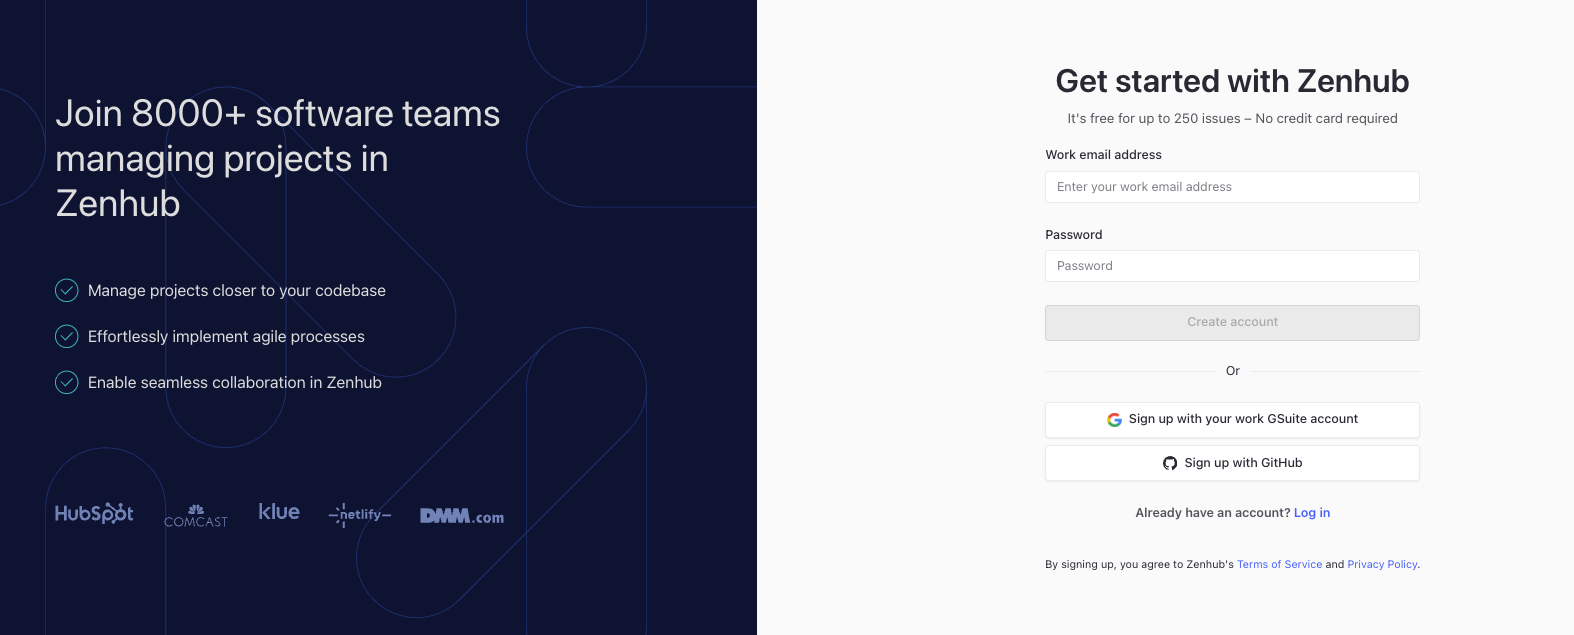
Creating your account
Visit app.zenhub.com/signup and select your preferred signup method: work email and password, Google Workspace, or GitHub. Email signups require verification before accessing Zenhub.
NOTE: Seeing "Account does not exist. Please sign up instead"? You're likely on the login page. Visit app.zenhub.com/signup to create a new account.
Understanding organization assignment
Zenhub automatically sets up your organization based on your email domain. Company email domains may show existing organizations you can join, helping teams avoid duplicate setups. Common email providers like Gmail trigger automatic organization creation, named after your email address and customizable later.
Setting up your first workspace
New organizations go through a 3-step workspace creation process.
Step 1: Choose your workspace name
Select something descriptive for your team or project. This workspace will be your team's daily collaboration hub.
Step 2: Select a workflow template
Choose from Scrum (1-week or 2-week) for sprint-based development, Kanban for continuous flow, Scrumban for hybrid approaches, IT Service Desk for support workflows, or Design for creative project management. Templates provide starting pipeline structures you can customize later.
Step 3: Set your trial goals
Select what you want to accomplish during your 14-day trial. This helps Zenhub provide relevant guidance throughout setup.
Understanding your trial
New organizations receive a 14-day trial with full feature access. You'll see a Trial Home page with setup guidance and a sidebar banner showing remaining trial days. Complete setup steps like GitHub connection, data import, and team invitations at your own pace.
Connecting to GitHub
GitHub integration is optional but valuable for development teams. When connected, you can view GitHub issues in your workspace, track pull requests alongside project work, and access reporting features with development data.
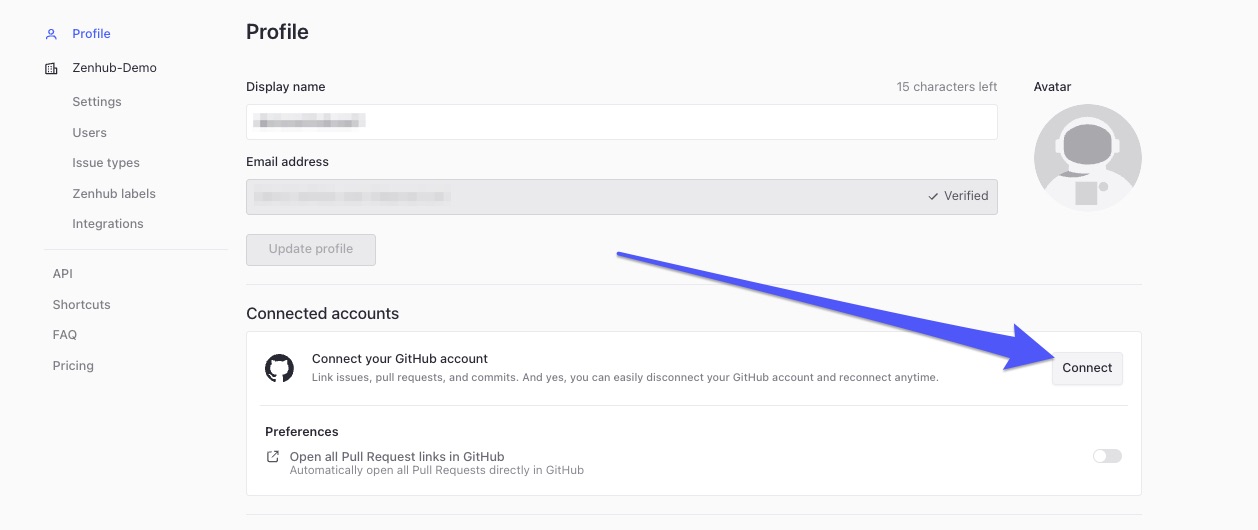
You don't need to connect GitHub right away. If you created your account with email or Google SSO, connect at any time by visiting your account settings, scrolling to Connected Accounts, and clicking Connect next to your GitHub account.
When you add existing repositories, Zenhub automatically organizes your issues: issues older than 90 days go to Icebox, recently updated issues to Product Backlog, issues with open milestones to Sprint Backlog, and active pull requests to In Progress.
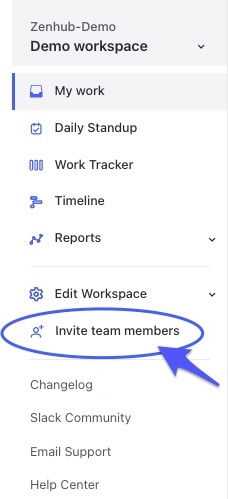
Inviting your team
Use Invite team members in your left sidebar to send email invitations, copy shareable links, or configure domain settings for automatic team discovery. Adding your company's email domains to the allowed list lets colleagues request organization access during signup.
NOTE: Invite links open the login page by default. New users without an account can switch to Sign up on the same page — the invite is saved in the browser session, so registration will complete the invite flow automatically. This only works if they stay in the same browser tab.
Configuring issue types
Issue types define your team's work hierarchy, from large strategic initiatives down to individual tasks. Zenhub provides default types out of the box, but you can create up to 25 custom types with adjustable names, descriptions, colors, and hierarchy levels. For full configuration guidance, see Issue Types.
Accessing organization settings
Find organization settings through Account Management in your profile menu or at app.zenhub.com/settings. Key functions include updating organization names, managing allowed domains, adding or removing members, and configuring issue types. You're charged for all licenses regardless of assignment, so regular license reviews help optimize costs.
Next steps
With your organization and workspace configured:
Adjust pipeline names to match your workflow terminology
Establish team conventions for issue creation and estimation
Explore automation options to reduce manual work
Connect additional repositories as needed
Invite more team members as your organization grows
FAQ
Q: Can I change my organization setup after initial configuration?
A: Yes. Most settings can be modified including organization name, allowed domains, issue types, and workspace templates. Some changes like billing transitions may require contacting support.
Q: What if I accidentally created a separate organization instead of joining my team's?
A: Contact support@zenhub.com for assistance. While there's no automated merge, support can help get you to the correct organization.
Q: I received an invite but don't have a Zenhub account yet. What do I do?
A: Click your invite link and you'll land on the login page. Select Sign up to create your account — your invite is saved in the browser session, so the invite flow will complete automatically after registration. Don't close the tab first.
Q: I've requested access to my organization. Now what?
A: You'll gain access once your Zenhub organization admin assigns you a license. Check with your admin if you're waiting longer than expected.
Q: How do I change my organization name?
A: Navigate to app.zenhub.com/settings/profile and click Settings in the left panel to update your organization name.