Managing Workspaces
Create, customize, and manage Zenhub workspaces to organize repositories and coordinate work across your teams.
What is a workspace?
A workspace is how you organize GitHub repositories and issues in Zenhub. It brings together all the repositories your team needs into a single, unified view. Each team can maintain their own pipelines and workflows without disrupting other teams working from the same repositories.
We recommend creating a separate workspace for each team in your organization — for example, Engineering Team A, Engineering Team B, Marketing, and QA. You can then ensure work flows between teams using the Workflows feature.
Creating a workspace
Click Create new Workspace in the workspace navigator in the left sidebar. Give your workspace a unique name and description, then add your issue sources.
NOTE: Workspace names must be unique across all of Zenhub and are case-insensitive.
If you prefer to work within GitHub, install the Zenhub extension for Chrome or Firefox, navigate to one of your GitHub repositories, and click the Zenhub tab to create your workspace from there.
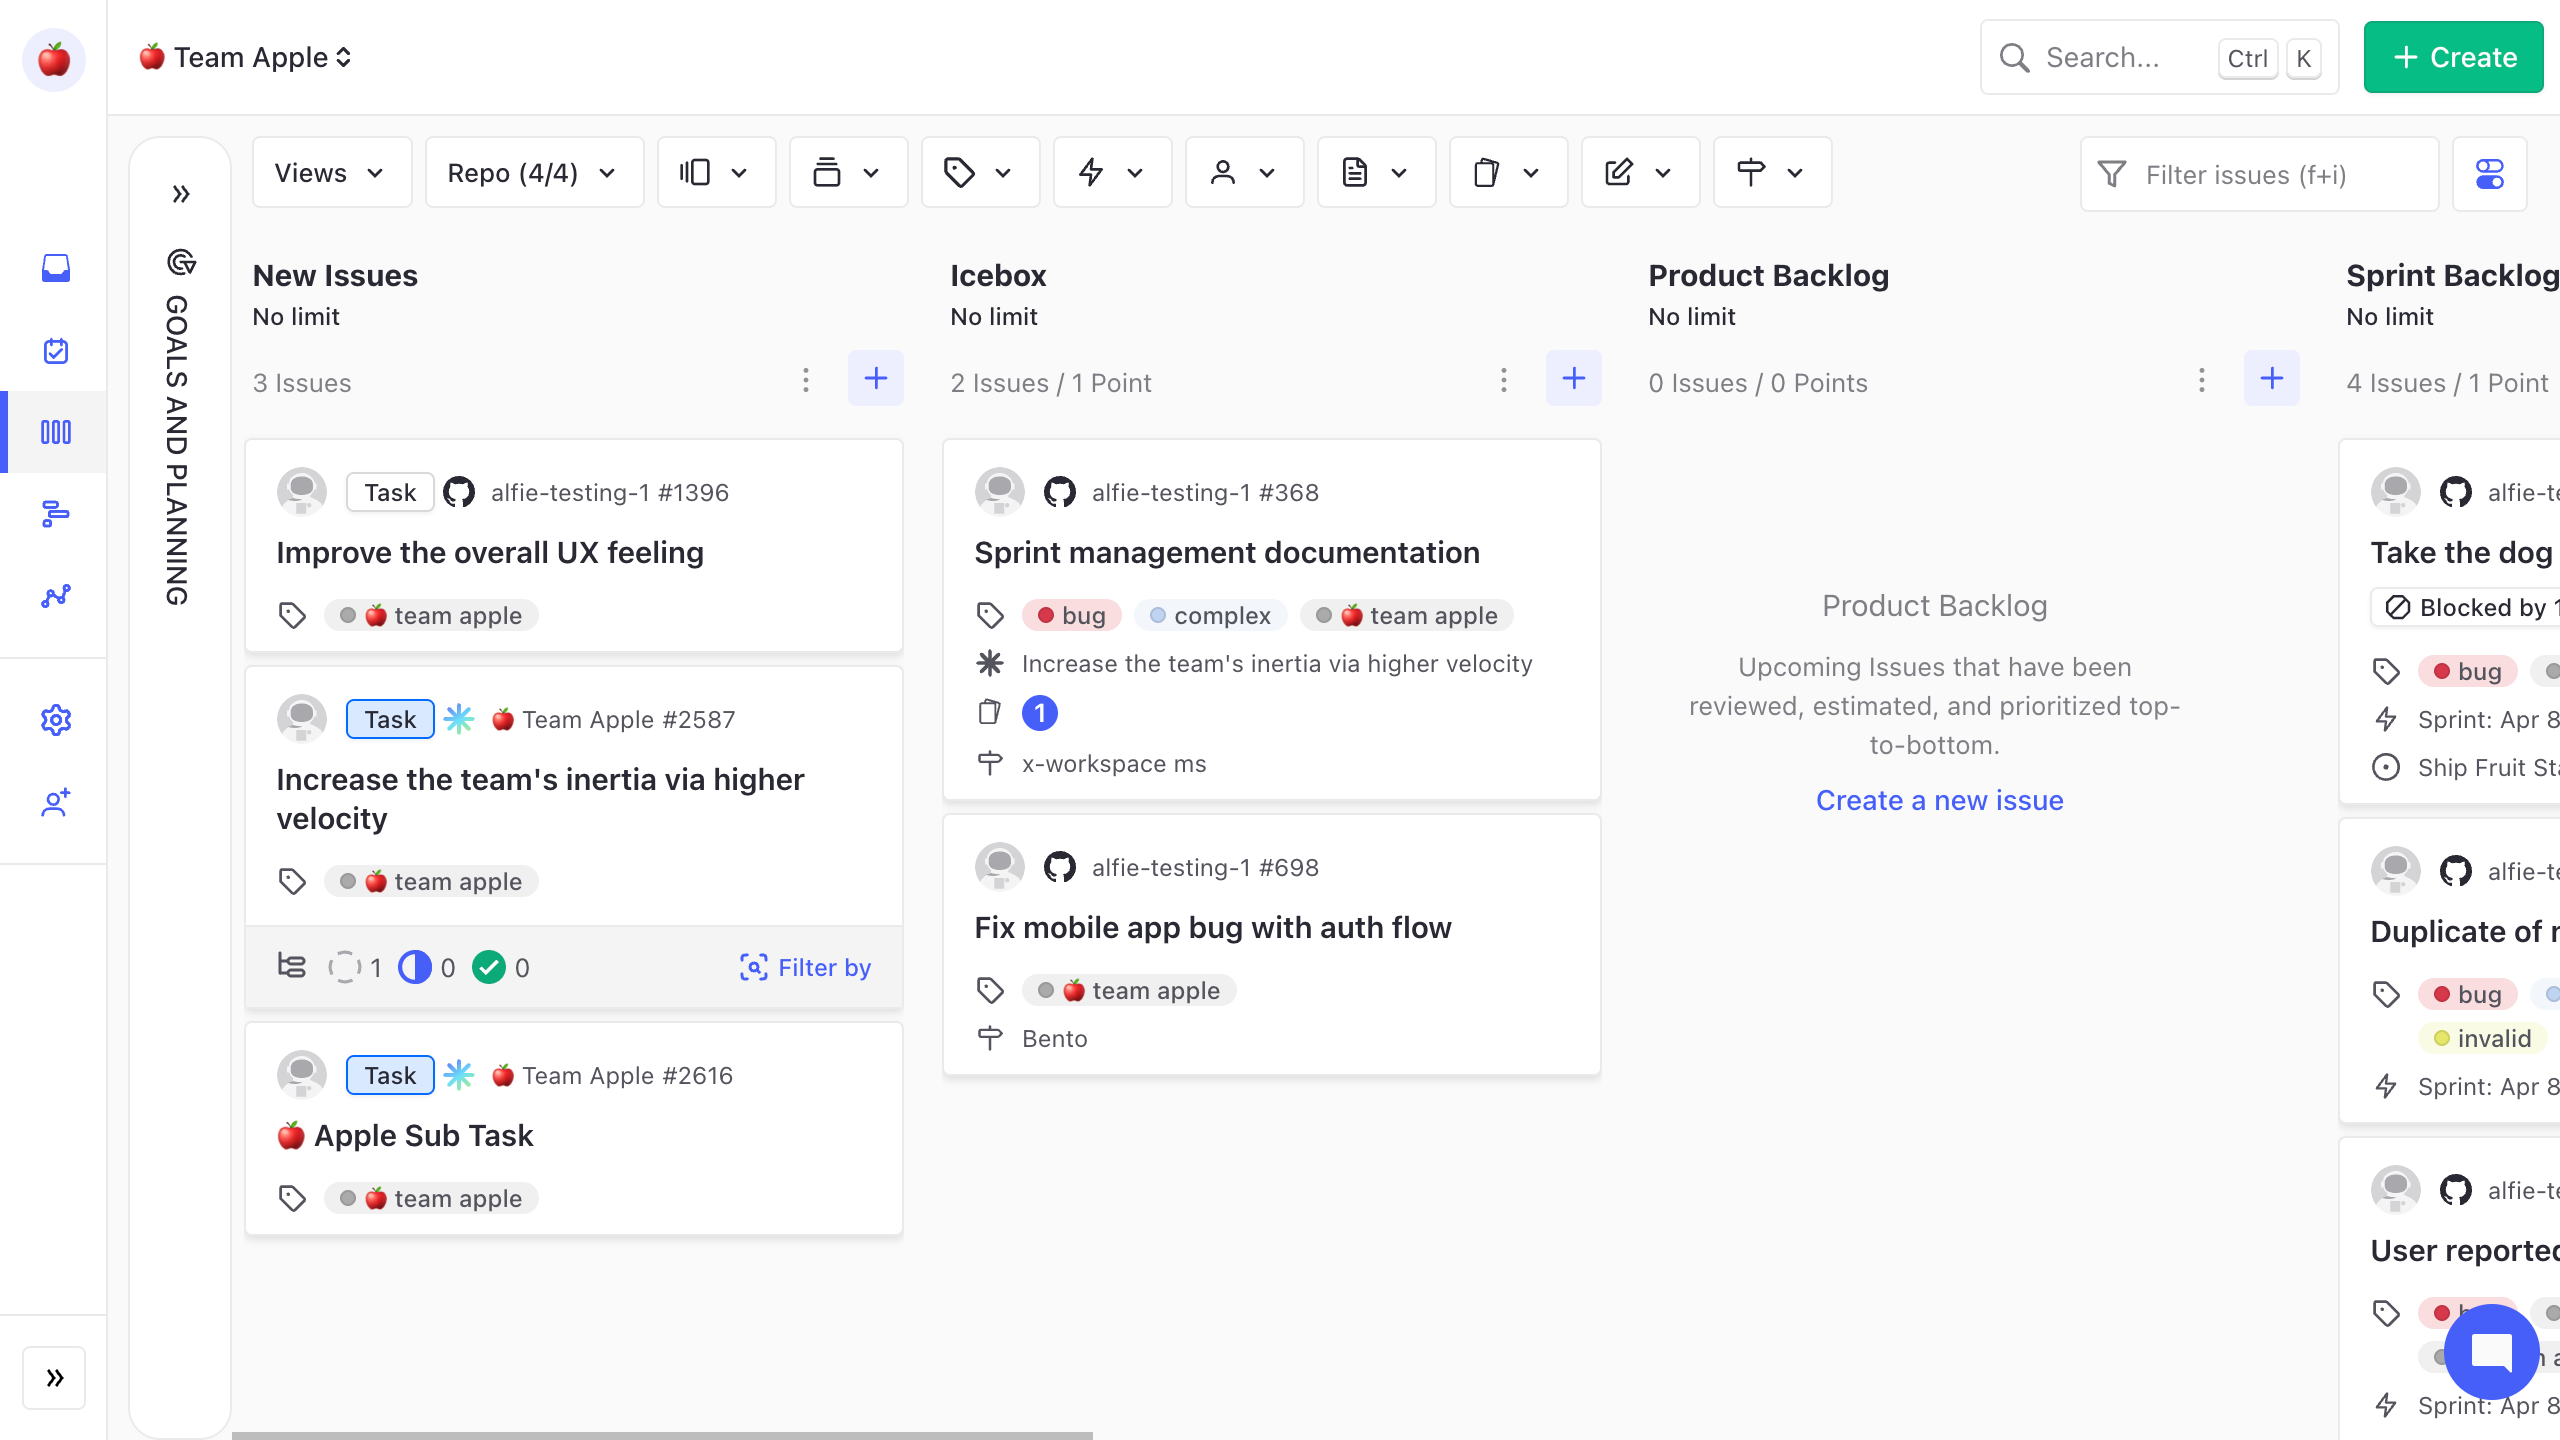
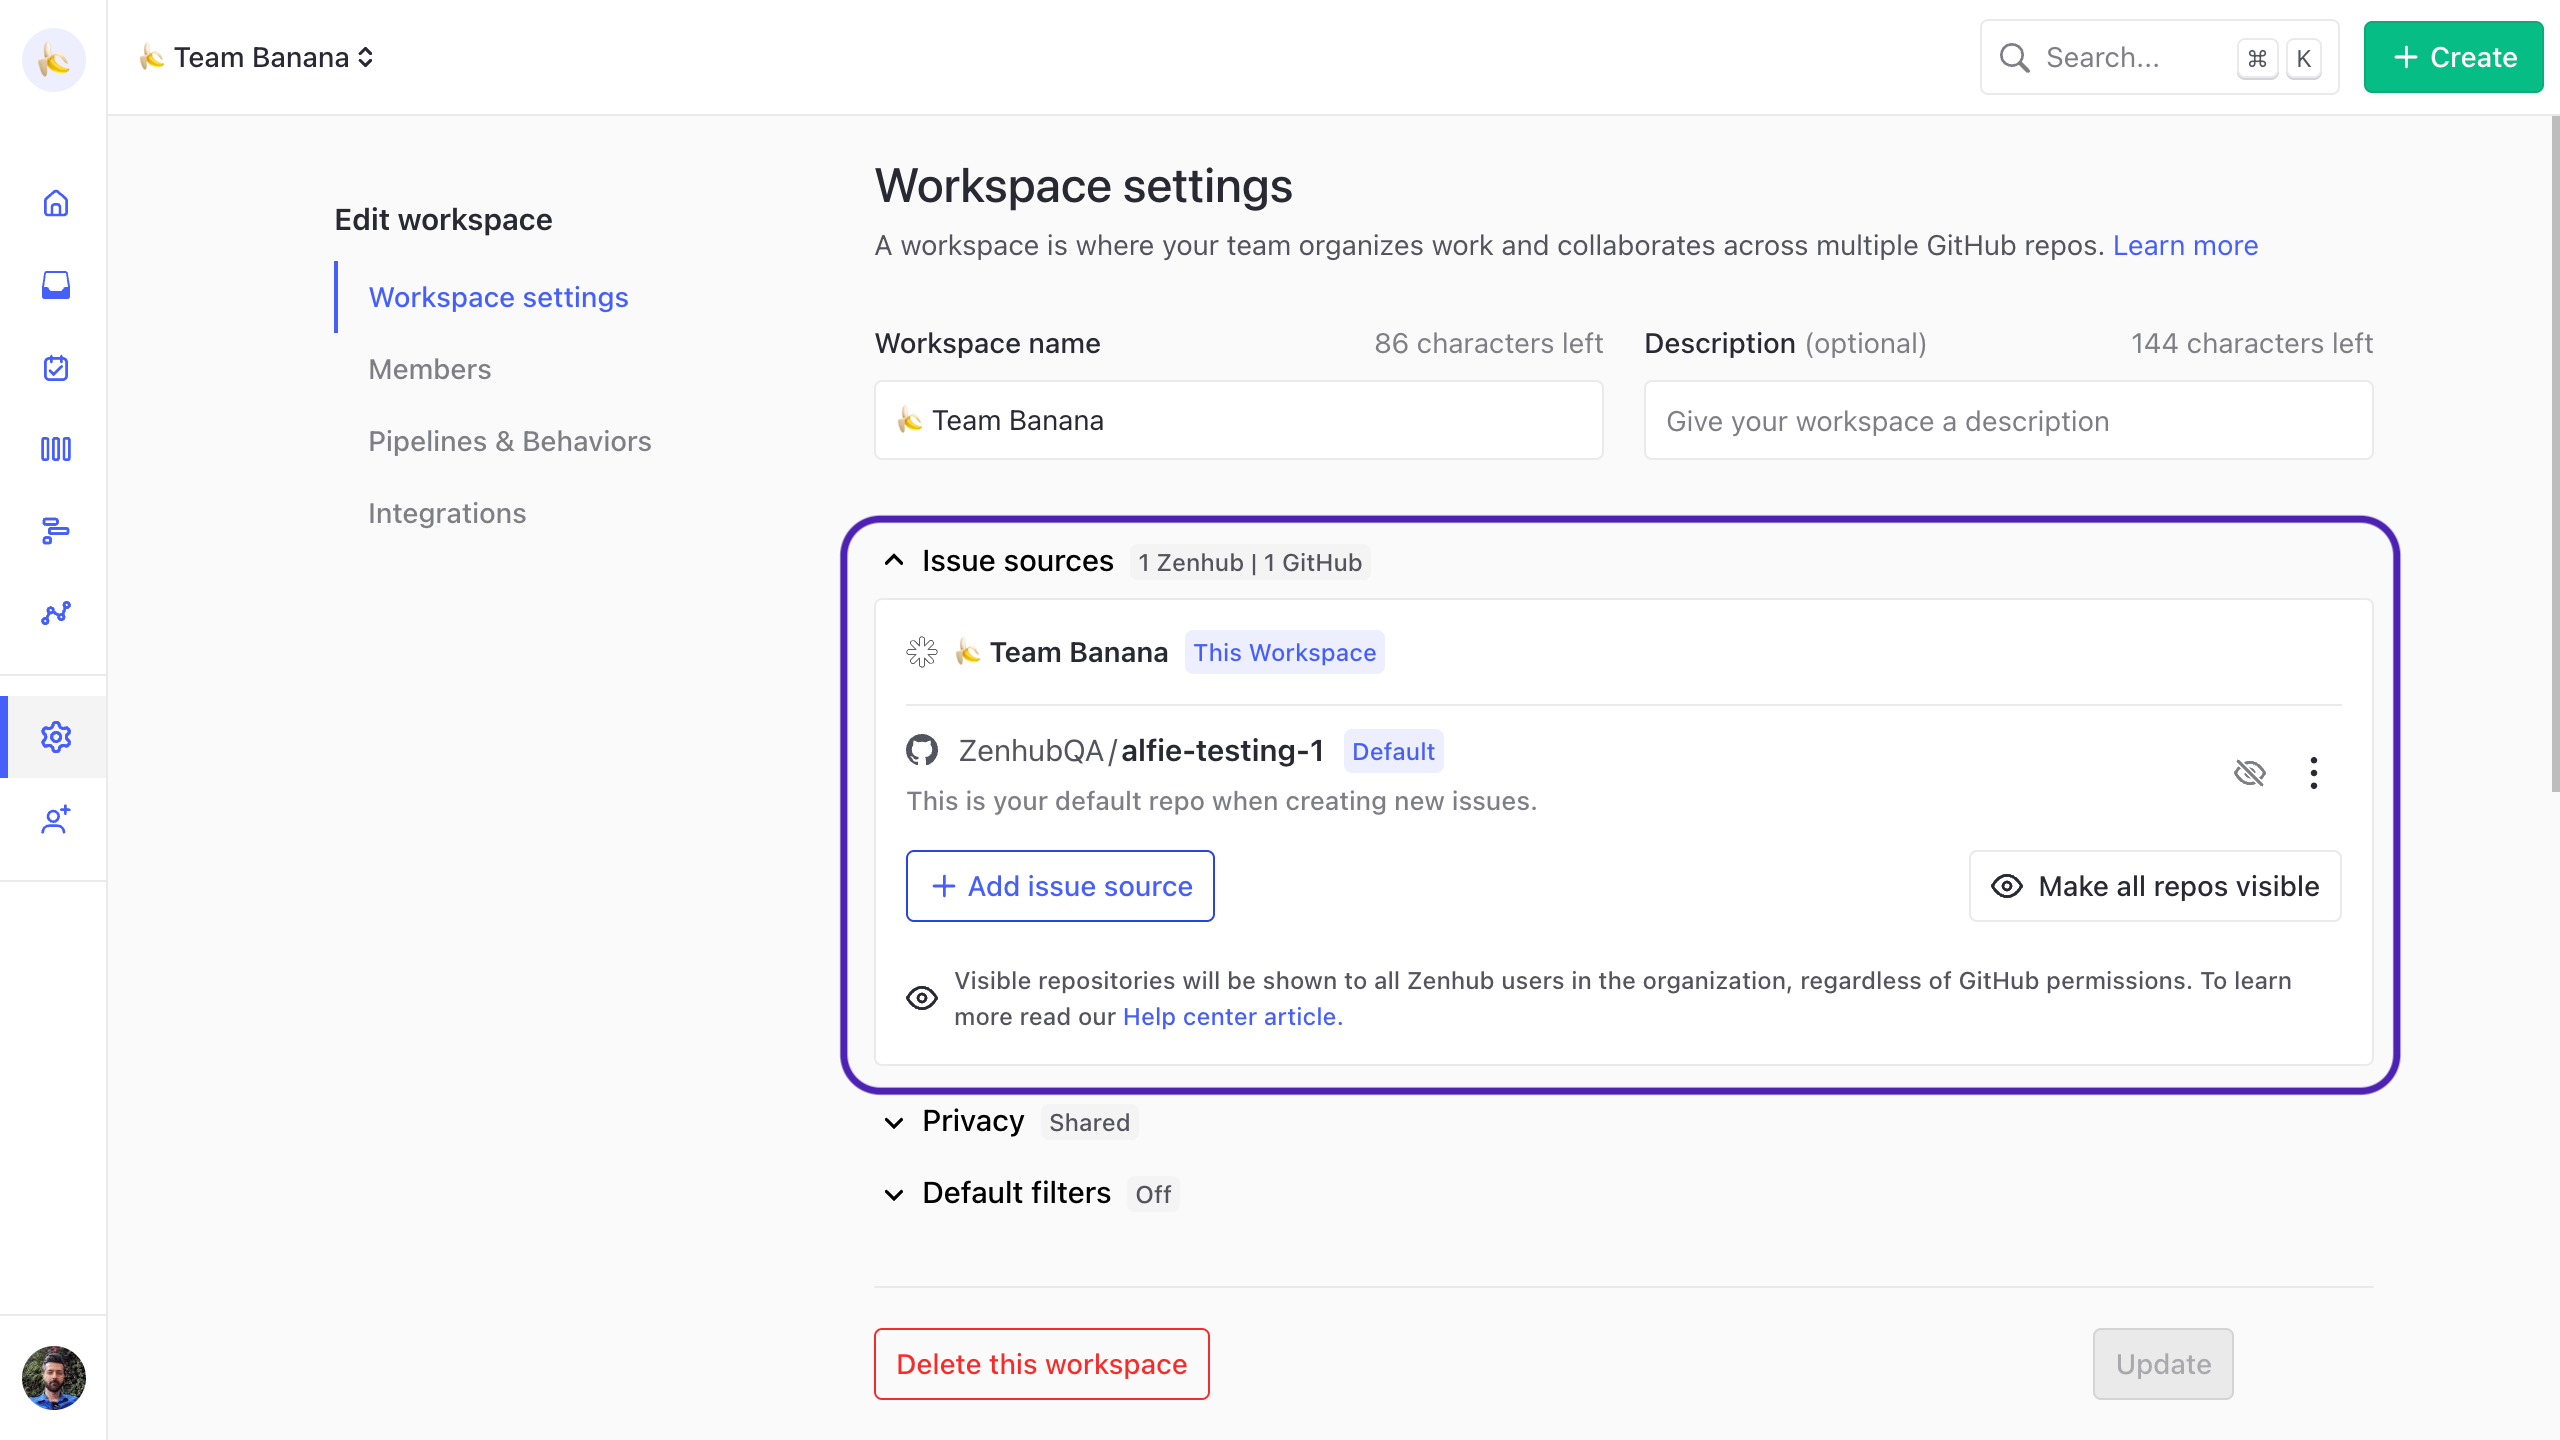
Workspace issue sources
Workspaces are made up of one or more issue sources. Zenhub supports two types: GitHub repositories and Zenhub repositories. Add either using the Add Issue Source button.
GitHub repositories bring your existing GitHub issues into Zenhub with full GitHub features like label management, release tracking, and pull request connections. Use these for engineering and code tasks.
Zenhub repositories are not linked to a specific code repository and are global to your entire Zenhub organization. Issues in Zenhub repositories can be viewed in any workspace without being restricted by GitHub repository permissions. Use these for non-engineering tasks like marketing, design, and business objectives.
Multi-repository workspaces
When adding repositories with existing pipelines, you'll see a merge preview where you can organize your workflow. You can drag and drop pipelines to match your team's preferred structure, merge similar pipelines, and rename pipelines to match your team's terminology.
TIP: Before merging repositories, discuss the pipeline structure with your team. Once merged, disconnecting a repository will lose all issue prioritization.
Automatic issue organization
When you connect an existing GitHub repository, Zenhub automatically organizes issues into appropriate pipelines: issues older than 90 days go to Icebox, recently updated issues to Product Backlog, issues with open milestones to Sprint Backlog, and open pull requests to In Progress. You can adjust placement afterward, but these defaults reflect your repository's actual state.
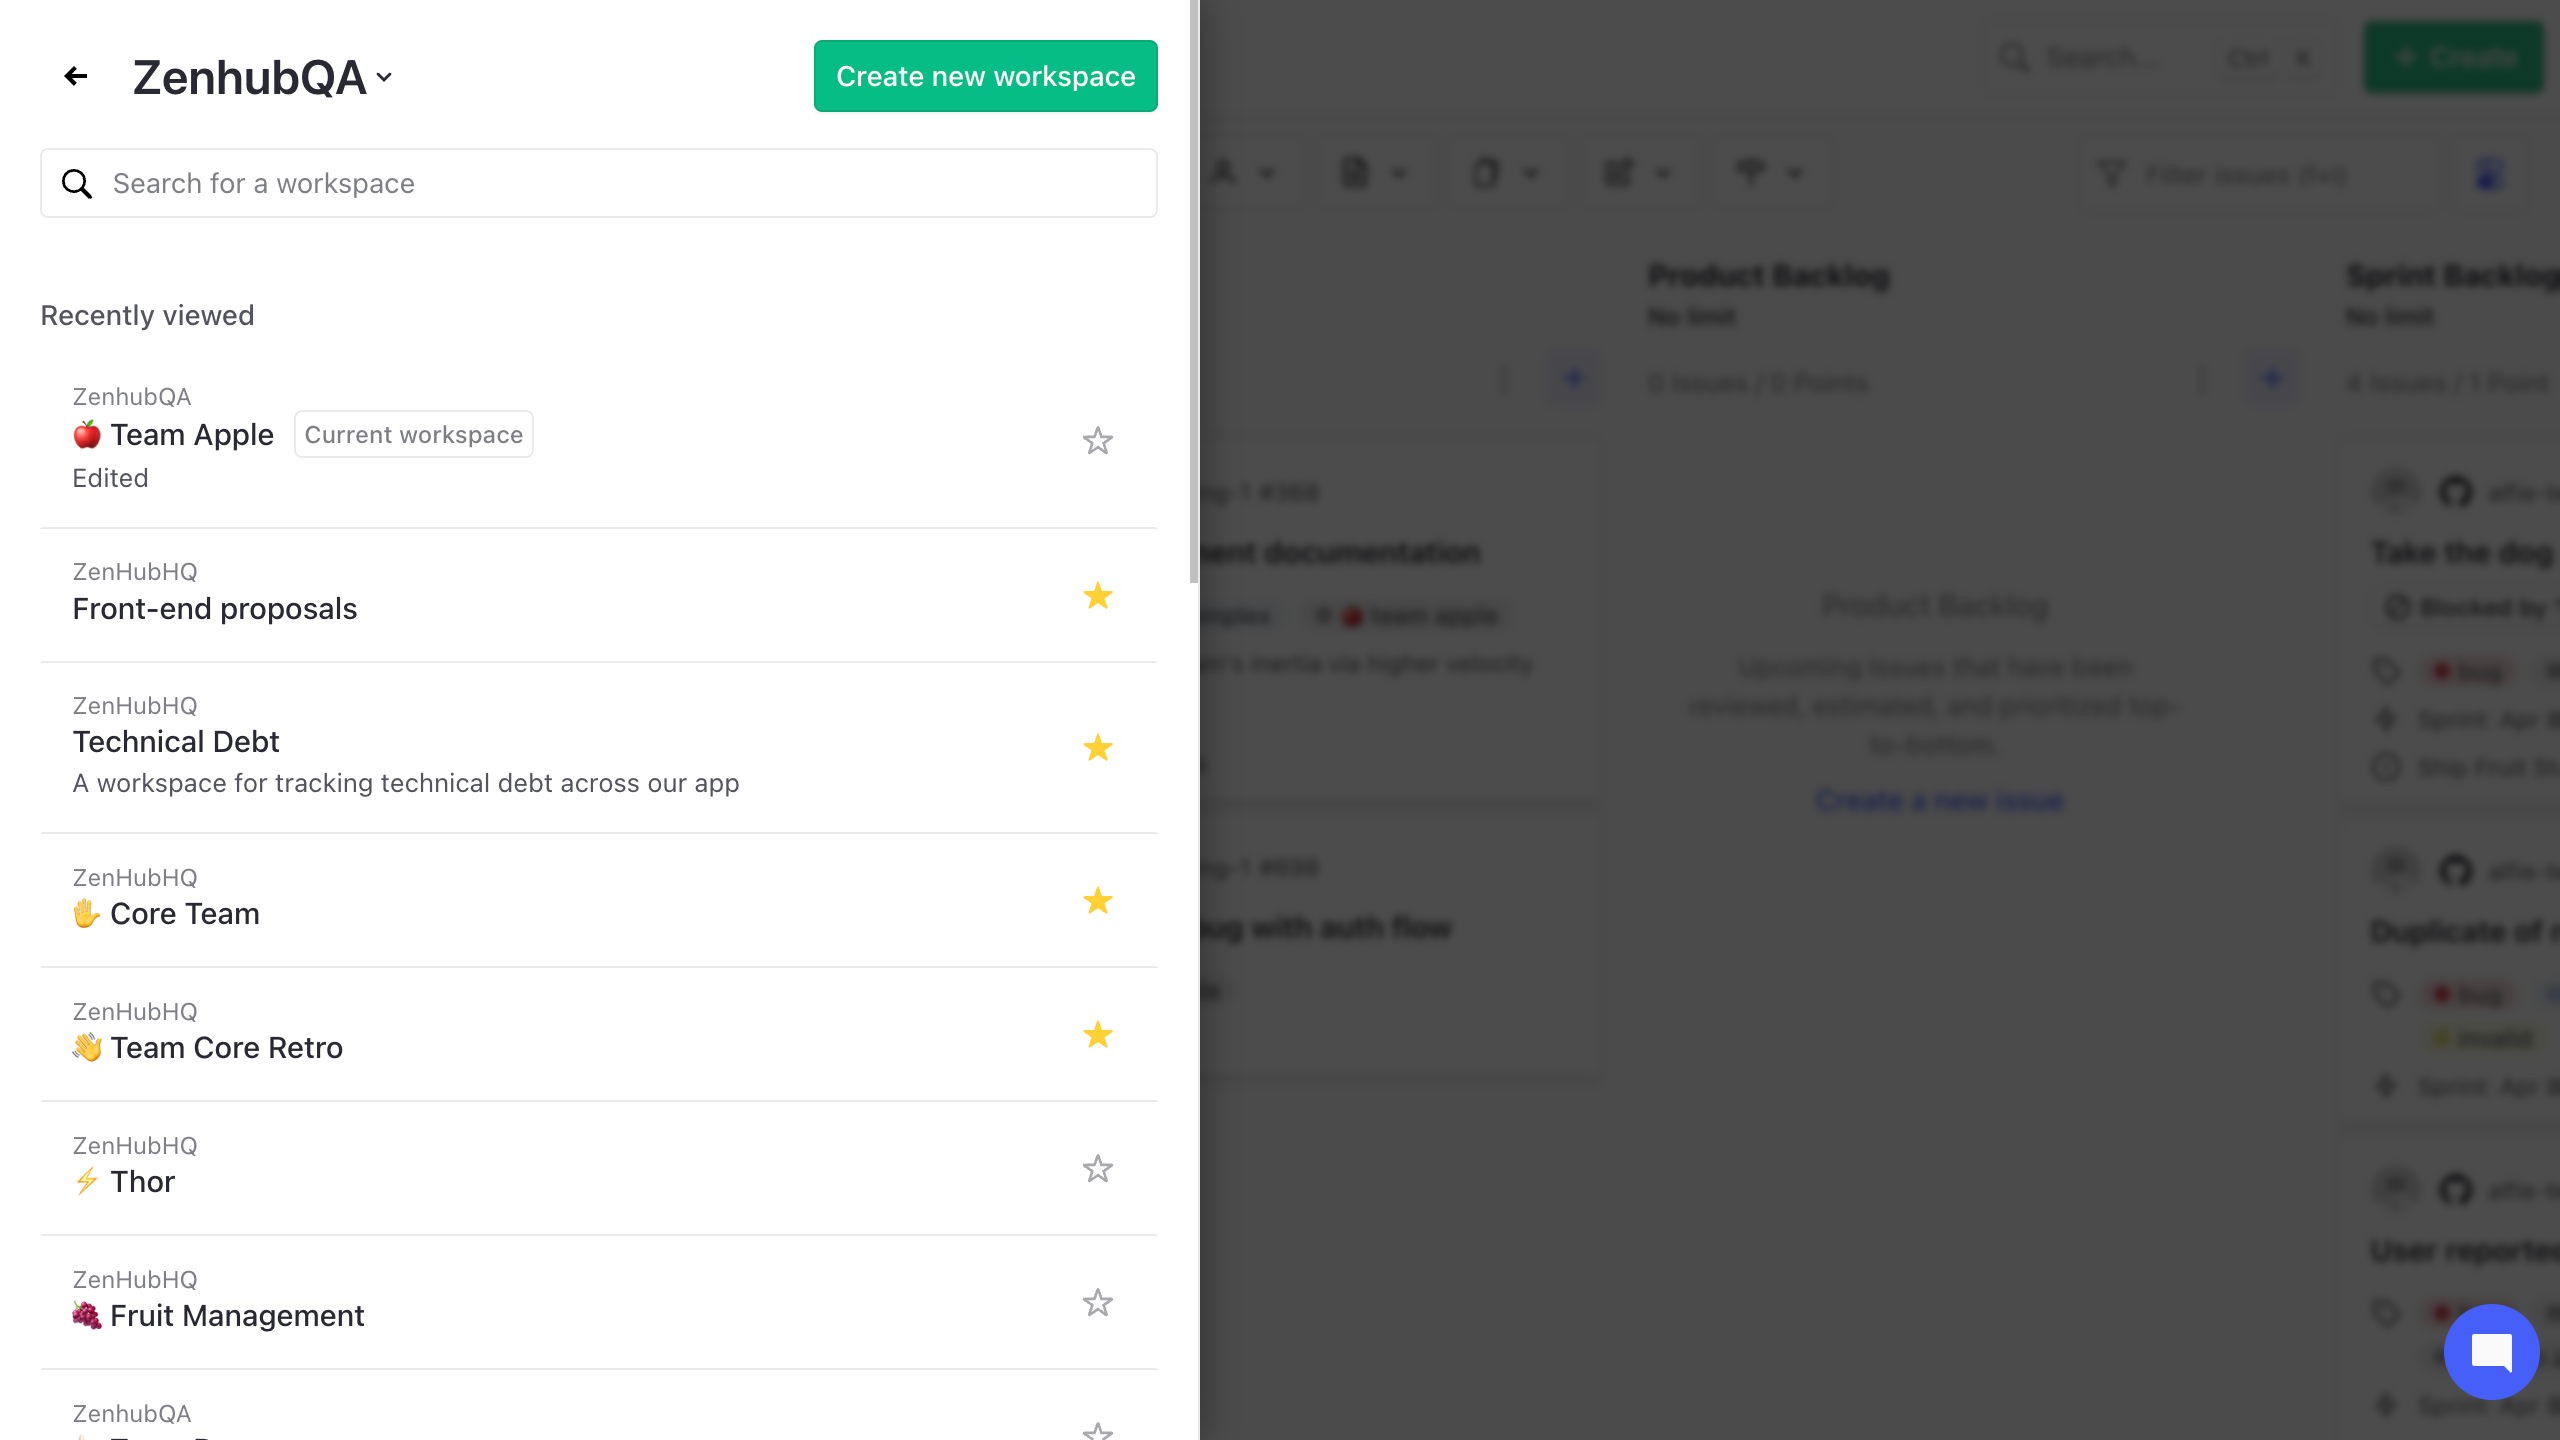
Navigating workspaces
Use the workspace navigator in the left sidebar to switch between workspaces. Star frequently-used workspaces to pin them to the top of your list. Create saved views to preserve custom filter configurations so you don't have to reapply the same filters repeatedly.
Workspace maintenance
Removing repositories
Disconnect repositories no longer needed via Edit Workspace → Issue Sources. Disconnecting a repository loses all issue prioritization and pipeline placement for that repository's issues.
Deleting workspaces
Permanently remove unused workspaces through workspace settings. This prevents clutter and makes it easier to find active projects.
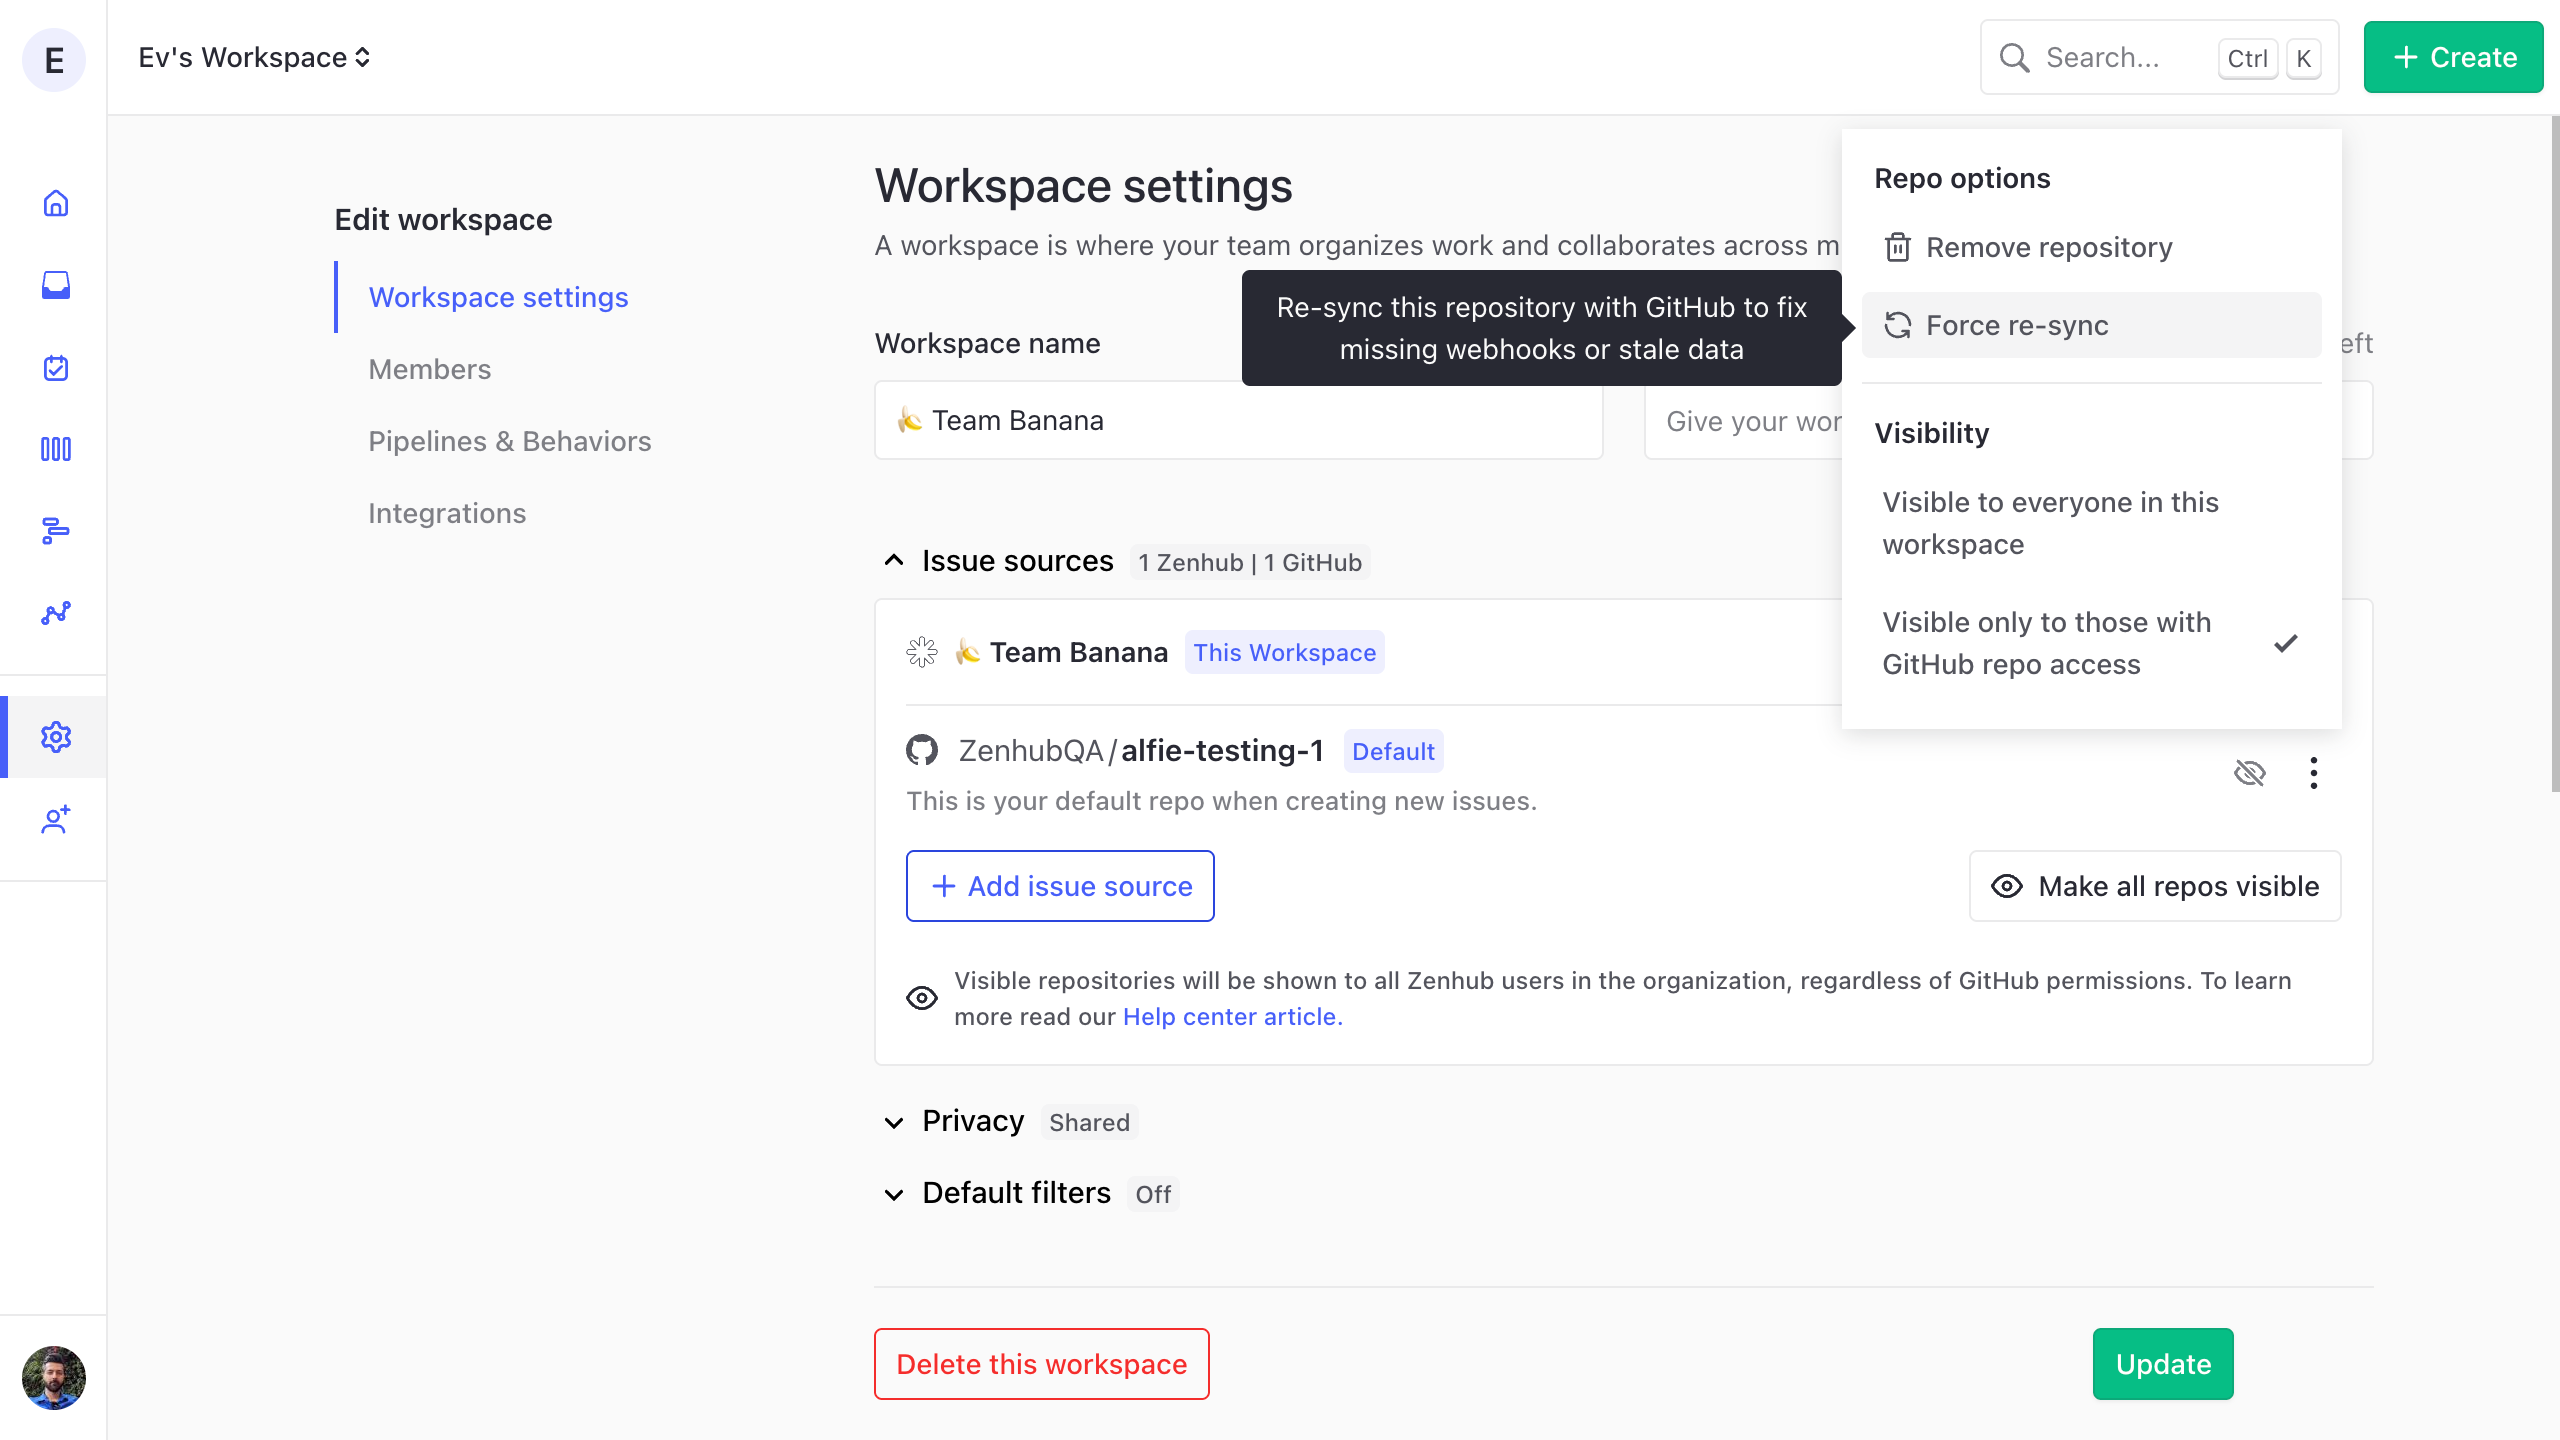
Forcing a re-sync
If GitHub issues in your workspace appear stale or out of date, navigate to Workspace Settings, find the GitHub repository issue source, click the ... menu, and select Force re-sync. This re-syncs issues, pull requests, assignees, labels, and removes deleted issues. It typically completes immediately but may take up to 5 minutes during heavy load.
FAQ
Q: Can the same GitHub repository be in multiple workspaces?
A: Yes. The same repository can be added to multiple workspaces, allowing different teams to work with the same issues using their preferred workflows and pipeline structures.
Q: When should I use a GitHub repository vs. a Zenhub repository as an issue source?
A: Use GitHub repositories for engineering and code tasks where you need GitHub features like PR connections and label management. Use Zenhub repositories for non-engineering work like marketing or design, where you want issues accessible across workspaces without GitHub permission restrictions.
Q: How does Zenhub sync data from GitHub?
A: Data syncs in real time — changes in GitHub typically appear in Zenhub within seconds. If you see stale data, use the Force re-sync option in Workspace Settings to manually trigger a full sync for that repository.
Q: Can I download issues to a CSV file?
A: There's no built-in CSV export. If you're comfortable with APIs, you can use Zenhub's GraphQL API at developers.zenhub.com to gather the data you need. Alternatively, add issues to a Release and download the Release Burnup as a CSV.
Q: What happens to issue prioritization when I remove a repository?
A: All pipeline placement for that repository's issues is lost when you disconnect it. Discuss with your team before removing repositories from workspaces.